


Winter Sunshine Cuticle Oil
Ingredients:
4.58 ounces Sunflower Oil (91.5%)
0.25 ounces Meadowfoam Oil (5%)
0.05 ounces Cordyceps Mushroom Extract (1%)
0.05 ounces...
When the babies start showing up, so does the milk. At first, almost all the milk goes to the babies. The babies that stay with their mothers get all the milk their mothers produce for the first 2-3 weeks at least. I still bring the mothers in during milking time to get extra feed, and I milk out whatever milk might be left in the udder. Generally that’s no more than a few squirts, but occasionally there will be a single kid who prefers only one side of the udder, and the other half will need to be emptied twice a day.
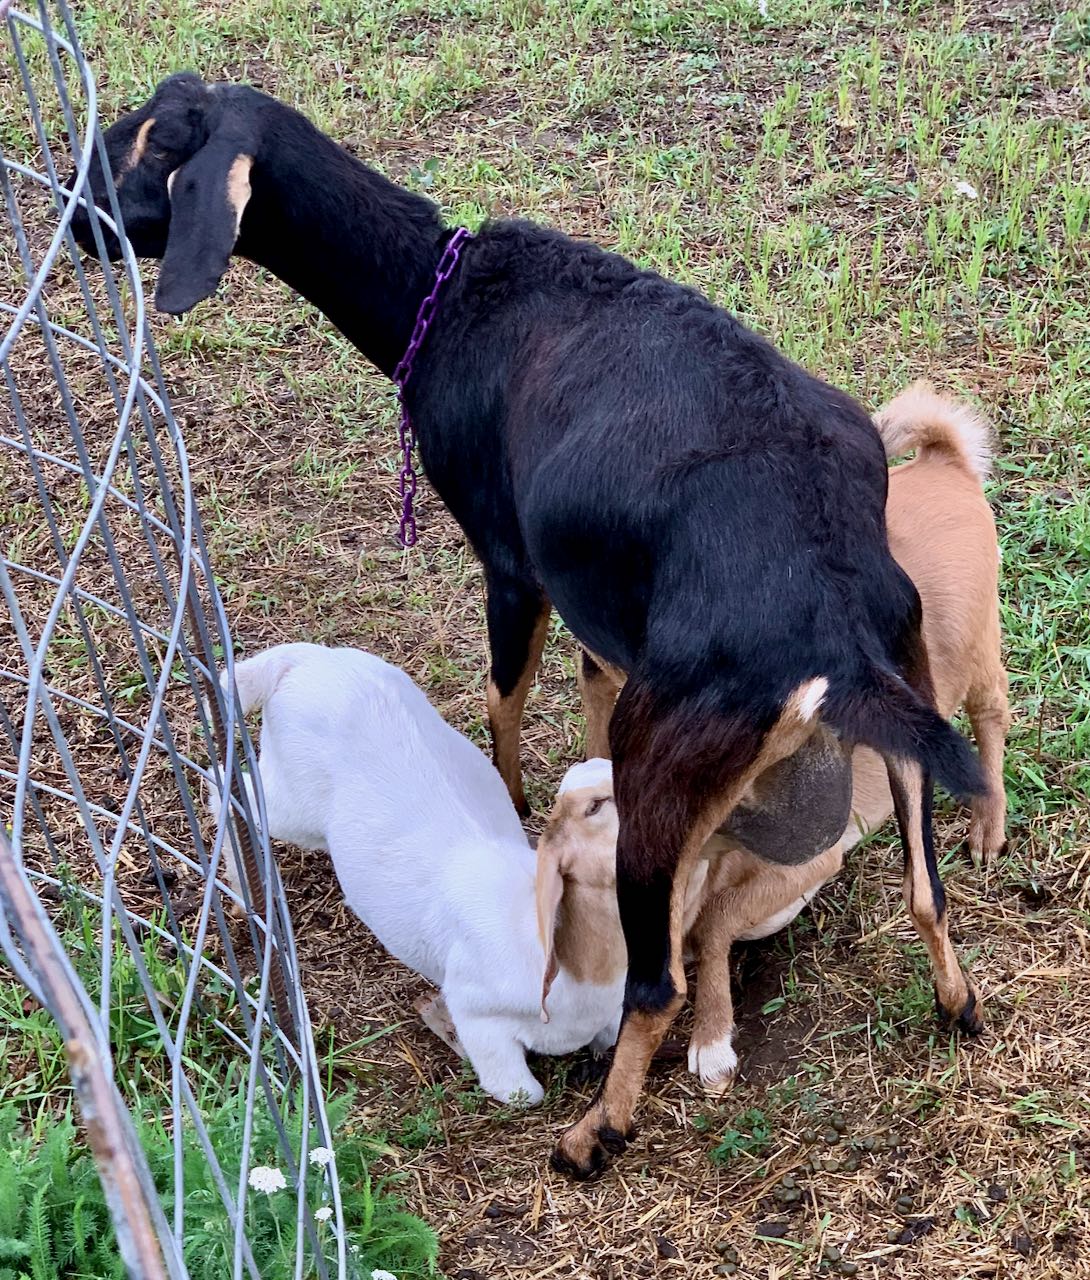 Lightning’s two kids grabbing a snack. |
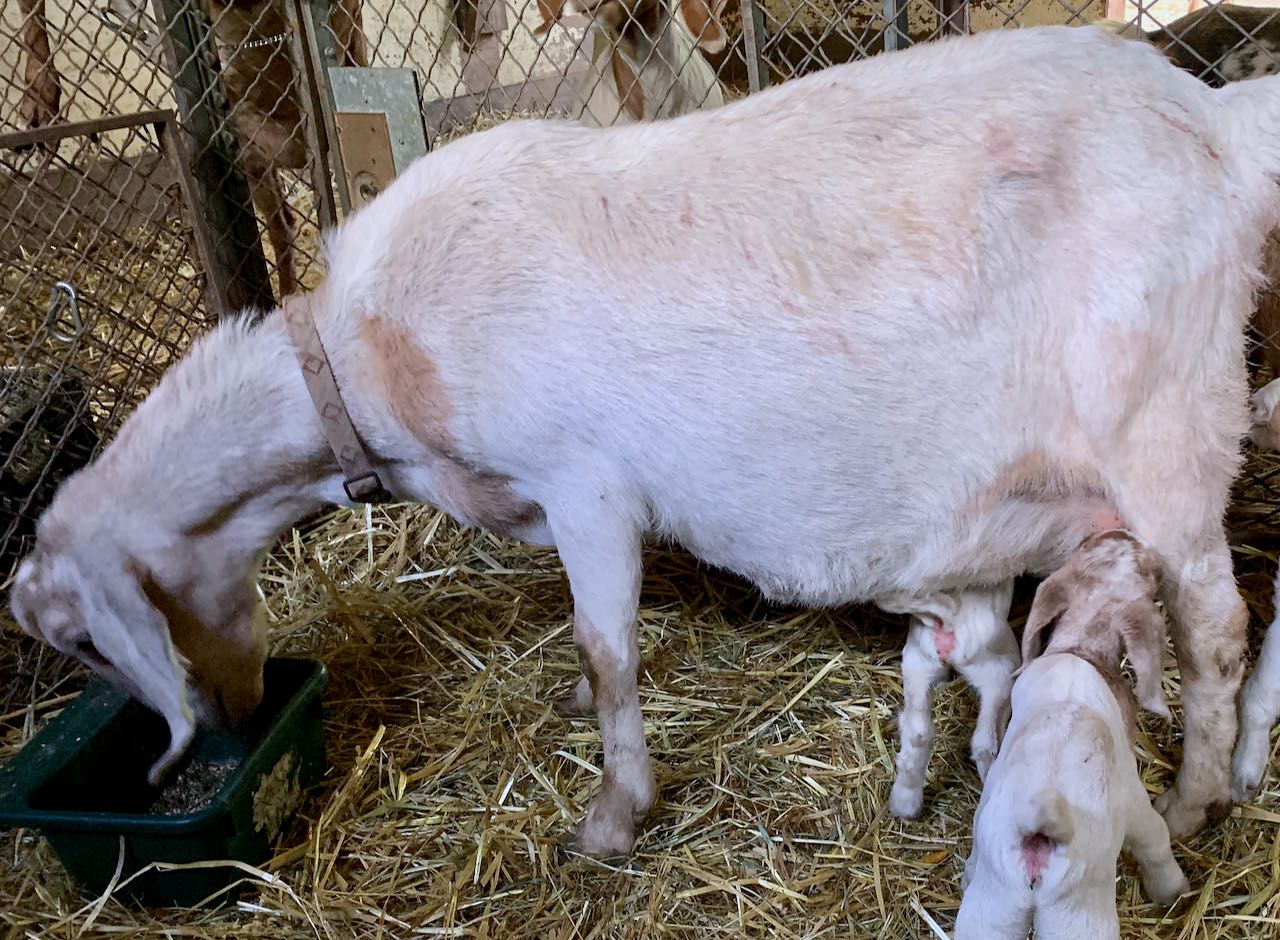 Banana nurses her newborns shortly after giving birth. |
Mothers of bottle fed babies provide our personal milk plus the milk for their babies. Sometimes there is enough to go around, and sometimes I have to feed half milk and half milk replacer, which is basically a powdered formula for baby goats.
 This is where the milk comes from. |
 And this is how I get it out. |
Within a month, we will separate the dam-raised kids from their mothers at night so we can milk all the mothers in the morning. This is when the days of abundance happen. I freeze at least a half gallon of milk daily for future use, and I begin making yogurt, kefir, and cheese!
 Velvet snuggles with her newborn triplets. |
 Z-28 checks on her twins, who were sleeping comfortably. |
Cheese at its most basic is pretty simple – add a coagulant and/or culture to milk, and you’ll get cheese. The chief variables are heat and time.
I enjoy making cheese, and I like eating it even more. It’s hard to think of a meal that is not improved by the addition of cheese. Soft cheeses like chèvre or fromage blanc are fast to make, but they need to sit for 12 hours to form a curd then drain for another 12 hours. Other cheeses take longer to make, but there is much less draining time. Then there are the aged cheeses, which take much longer to make and even longer before they are ready to eat. It is possible to make a cheese to eat right away, though, and that’s what I’m going to show you today.
Paneer is a very simple cheese originating from Bangladesh and India. It is a fresh cheese that does not melt, a unique quality that gives it lots of versatility in vegetarian diets. A great thing about paneer is that you can make it with things you probably already have in your kitchen: milk, an acid like lemon juice or vinegar, and some cheesecloth.
This paneer recipe is from Mary Jane Toth’s book “A Cheesemaker’s Journey,” with a few of my own notes and observations.
Paneer Cheese
|
INGREDIENTS:
1 gallon whole milk* 1/2 cup lemon juice or vinegar 3 teaspoons cheese salt** (optional) |
EQUIPMENT:
Stainless steel or enamel pot Long-handled slotted spoon Colander Cheesecloth |
Place the milk into a stainless steel or ceramic pot that allows enough room to bring the milk to a full rolling boil. It is best to use a double boiler to keep the milk from scorching. If putting on direct heat without using a double boiler, you will have to stir the milk often to prevent scorching or sticking.
 One gallon of milk is heated to boiling in a large pot. |
 As soon as it boiled, we add vinegar and stir. |
Remove from heat and slowly drizzle the lemon juice or vinegar into the milk, stirring in one direction. Stir gently with the long-handled slotted spoon until the curd forms. The curds should form within 2 minutes. The milk will coagulate and leave pale, yellow-greenish whey.
Tip:
If, after 2 minutes, the curd has not formed, you can place the milk back on the heat for a few minutes. If necessary, you can add a little more of the acid agent.
 Curd begins to form immediately after adding the vinegar. |
 Salting the curds and whey. |
Salt is optional, but I find that this cheese is very bland without some. Skip this step if you want a salt-free cheese. As soon as the curd has formed, stir 3 teaspoons of cheese salt into the curds and whey.
Cover and allow to sit for about 10 minutes. When the curd has settled below the whey, it is ready to drain.
 Spooning the curds into a colander lined with cheesecloth. |
 Curds wrapped in cheesecloth hanging to drain. |
Line a colander with cheesecloth, and pour in the curds and whey. Tie the cheesecloth and hang to drain until firm.
The curd can be used as is, or it can be pressed with a weight to make a firm cheese that can be sliced or cubed. To do this, wait until the curds have stopped draining and have firmed up a bit. (I wait around 30 minutes.)
 After draining, curds are wrapped in the cheesecloth to be pressed. |
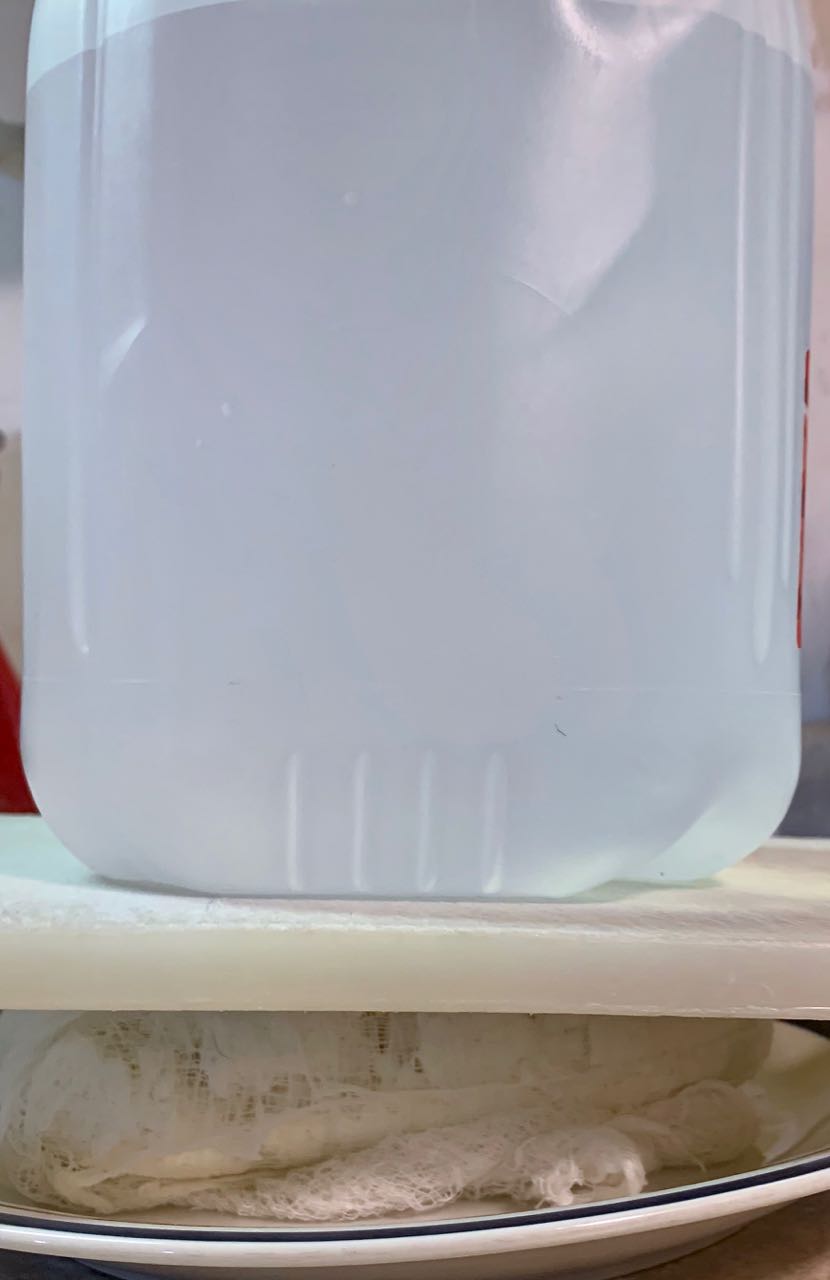 A homemade basic cheese press. The gallon jug was about 2/3 full of water, which is close enough to 5 pounds to work. |
To make the cheese firm: Wrap the cheese tightly in the cheesecloth and place the resulting bundle on a plate. Place a cutting board or similar flat object on top, and place some weight on that. (I use around 5 pounds of weight.) This will flatten the cheese into a firm slab. Let it sit about 2 hours.
 After pressing for two hours, this is what the curds looked like. |
 I cut the cheese into cubes to be fried in butter for dinner. |

Paneer fried with herbs and mushrooms.
Place the finished cheese into plastic containers or bags and store in the refrigerator. The cheese will keep for about a week.
We cubed and fried the paneer in butter for dinner along with some foraged hedgehog mushrooms. It was so tasty!
I hope you’ll give cheesemaking a try with this simple, delicious cheese.

Ingredients:
4.58 ounces Sunflower Oil (91.5%)
0.25 ounces Meadowfoam Oil (5%)
0.05 ounces Cordyceps Mushroom Extract (1%)
0.05 ounces...
This...


